How to Create Print Posters in Canva: Sizes, Bleed, and PDF Print
Canva posters are large print pieces: wall sizes, trim edges, bleed, and a high-quality PDF for the printer. Unlike flyers (handout paper you distribute) or business cards (pocket cards), a poster is meant to be read from a distance on a wall or stand.
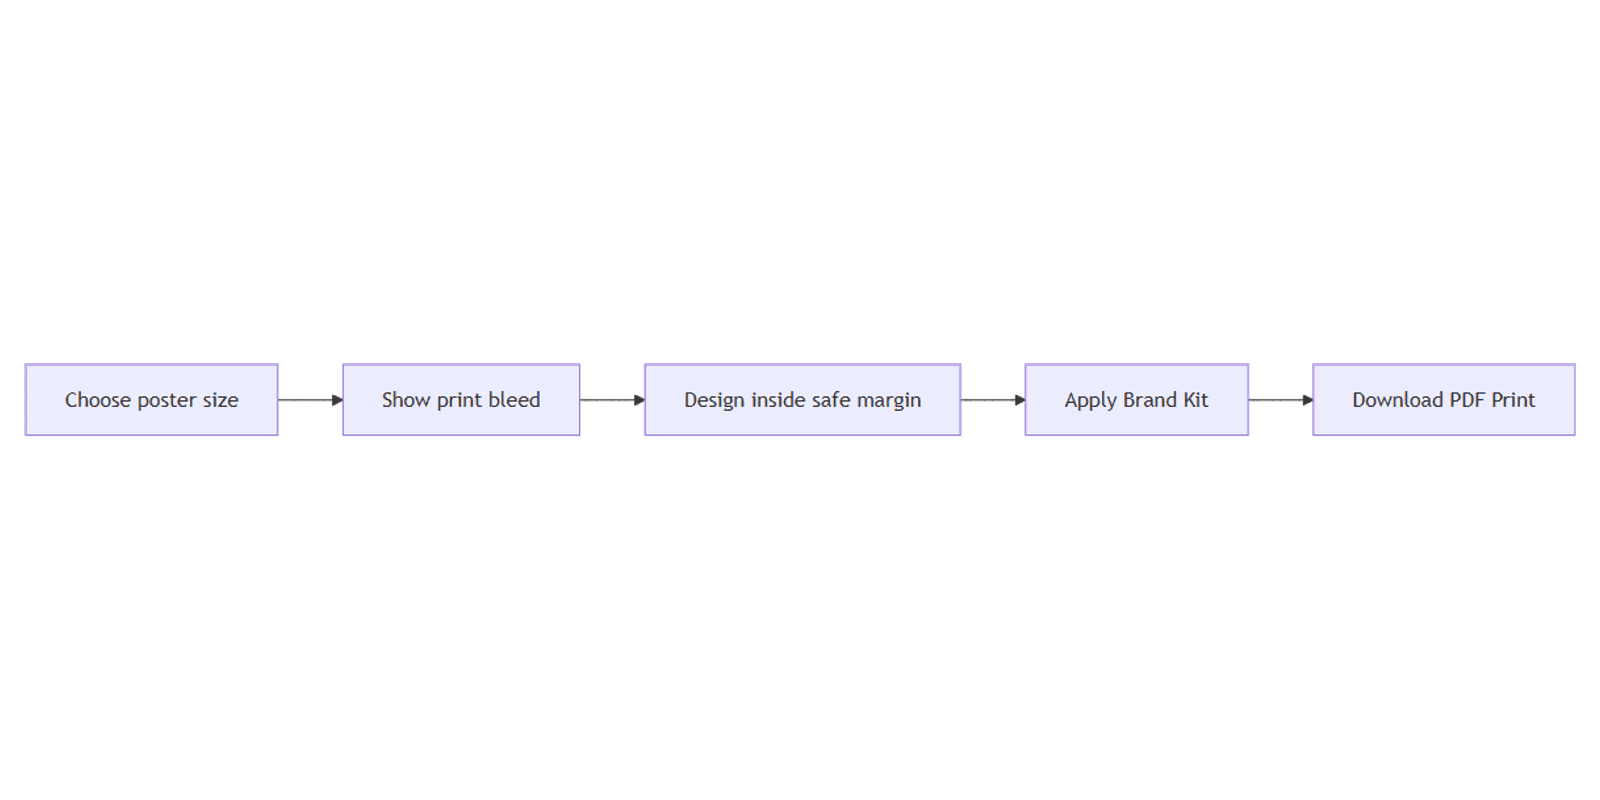
This guide covers common poster sizes, showing print bleed, keeping text inside the safe margin, and downloading PDF Print with crop marks. Official help: Margins, bleed, and crop marks, Download file types, and Canva Print.
Common poster sizes in Canva
Create a poster from a Poster template or Custom size in inches or millimeters.
| Size | Dimensions | Typical use |
|---|---|---|
| 18 × 24 in | 18 × 24 in | Common US event / retail posters |
| 24 × 36 in | 24 × 36 in | Large wall posters |
| A2 | 420 × 594 mm | International mid-large posters |
| A3 | 297 × 420 mm | Smaller wall or window posters |
| A1 | 594 × 841 mm | Large format / exhibition |
Always confirm finished size, orientation, and paper stock with your printer before you design. Canva template names are a starting point only - shops stock different trims and may require exact mm/inch specs.
Changing size late with Magic Resize is a starting point only - reflow headlines and check margins after any resize. Large ↔ small jumps often need a rebuild, not a blind resize.
How to create a poster in Canva
- Open Canva.
- Click Create a design.
- Search Poster, or pick Custom size and enter inches or mm.
- Select a template that matches your print size, or start blank.
- Replace headlines, images, colors, and logos.
- Rename the design so it is easy to find for print handoff.
Design for distance: one dominant headline, one supporting line, and one clear CTA. Avoid packing a poster like a multi-column flyer.
Show print bleed and safe margins
Bleed is the extra area beyond the trim line. After cutting, full-bleed backgrounds look flush to the edge instead of showing a white sliver.
- Open File or your view settings in the editor.
- Turn on Show print bleed.
- Extend background colors and images into the bleed area.
- Keep critical text, logos, and QR codes inside the safe margin (inside the trim), not in the bleed.
For many Canva trim products, bleed is about 0.125 in / 3.175 mm on the sides. Exact product rules can vary - follow the on-canvas guides and Canva's bleed help.
| Zone | Put here | Avoid here |
|---|---|---|
| Bleed | Backgrounds, edge-to-edge photos | Body text, fine logos |
| Trim | Where the sheet is cut | Assuming cut is perfect every time |
| Safe margin | Headlines, dates, venue, QR codes | Elements that must not be cropped |
Design checklist for print
Apply Brand Kit
Use Brand Kit for approved colors, fonts, and logos so print matches digital assets.
- Open Brand or Brand Kit in the editor.
- Apply brand colors and fonts.
- Place the correct logo variant with clearance from the trim.
- Check contrast on paper - light gray on white often fails in print and at distance.
Add a QR code when useful
A QR code on a poster links to tickets, maps, or menus. Keep it large enough to scan from a step or two away, high contrast, and inside the safe margin - not in the bleed.
Poster vs flyer
| Poster | Flyer | |
|---|---|---|
| Primary use | Wall / display | Handout / rack |
| Typical sizes | 18×24, A2, A3, larger | Letter, A4, A5 |
| Read distance | Arm’s length to across a room | In-hand |
Reuse Brand Kit elements across both, but do not treat a flyer layout as a poster - scale type up and reduce body copy.
Preview mockups with Canva frame mockups when you need a client-facing presentation of the printed piece.
Download PDF Print for print shops
- Click Share → Download.
- Choose PDF Print (aimed at 300 dpi print quality).
- Tick Crop marks and bleed when your printer needs them.
- Download and open the PDF to confirm bleed, crop marks, and that text sits inside the safe area.
| Format | Best for |
|---|---|
| PDF Print | Print shops, large-format printers, professional color |
| PDF Standard | Screen sharing, lightweight digital proofs |
Do not send PDF Standard to a print shop when you need bleed and print resolution. Use PDF Print with crop marks and bleed for production files. See Canva download types.
Canva Print vs local / large-format printer
You can order through Canva Print when the product is available in your region, or download PDF Print and take the file to a local or large-format print shop. Confirm max size, file type, and whether they want crop marks before you upload. Canva Print handles product selection and fulfillment when offered; a local shop may ask for paper stock and mounting preferences you confirm yourself.
Campaign calendars and poster hang dates fit well in the Social Media Multi-Platform Content Planner.
FAQ
What is the difference between PDF Print and PDF Standard?
PDF Print is for printers - higher quality (around 300 dpi) and options like crop marks and bleed. PDF Standard is lighter and better for screen viewing or digital sharing, not for professional trim work.
How much bleed does Canva use?
Canva's print bleed on many trim products is about 0.125 in (3.175 mm) on the sides. Turn on Show print bleed, extend backgrounds past the trim, and keep important content inside the safe margin. Confirm with margins and bleed help.
Should I use 18×24 or A2?
Use 18 × 24 in when your US printer stocks that trim. Use A2 (420 × 594 mm) for many international shops. Match the size your printer confirms - do not guess from a template name alone.
How is a poster different from a flyer?
A poster is display print (wall / stand, larger sizes). A flyer is a handout (Letter, A4, A5). Both need bleed and PDF Print, but layout and type scale differ.
Conclusion
To create a print poster in Canva, pick the correct size (and confirm with your printer), show print bleed, keep critical text inside the safe margin, apply Brand Kit, and download PDF Print with crop marks and bleed. For handouts and pocket print, see flyers and business cards.
Next, add scannable QR codes, and keep screen work separate from print production files.
Canva Templates
Start Selling Canva Templates - Start Now!