Notion Databases: Understanding the Filtering Feature
Notion's filtering feature is a powerful tool to manage and navigate through large amounts of data in databases.
Here's how to apply filters to your Notion pages to find what you need:
Step-by-Step Guide to Filtering
Access the Database: Navigate to the database you want to filter.
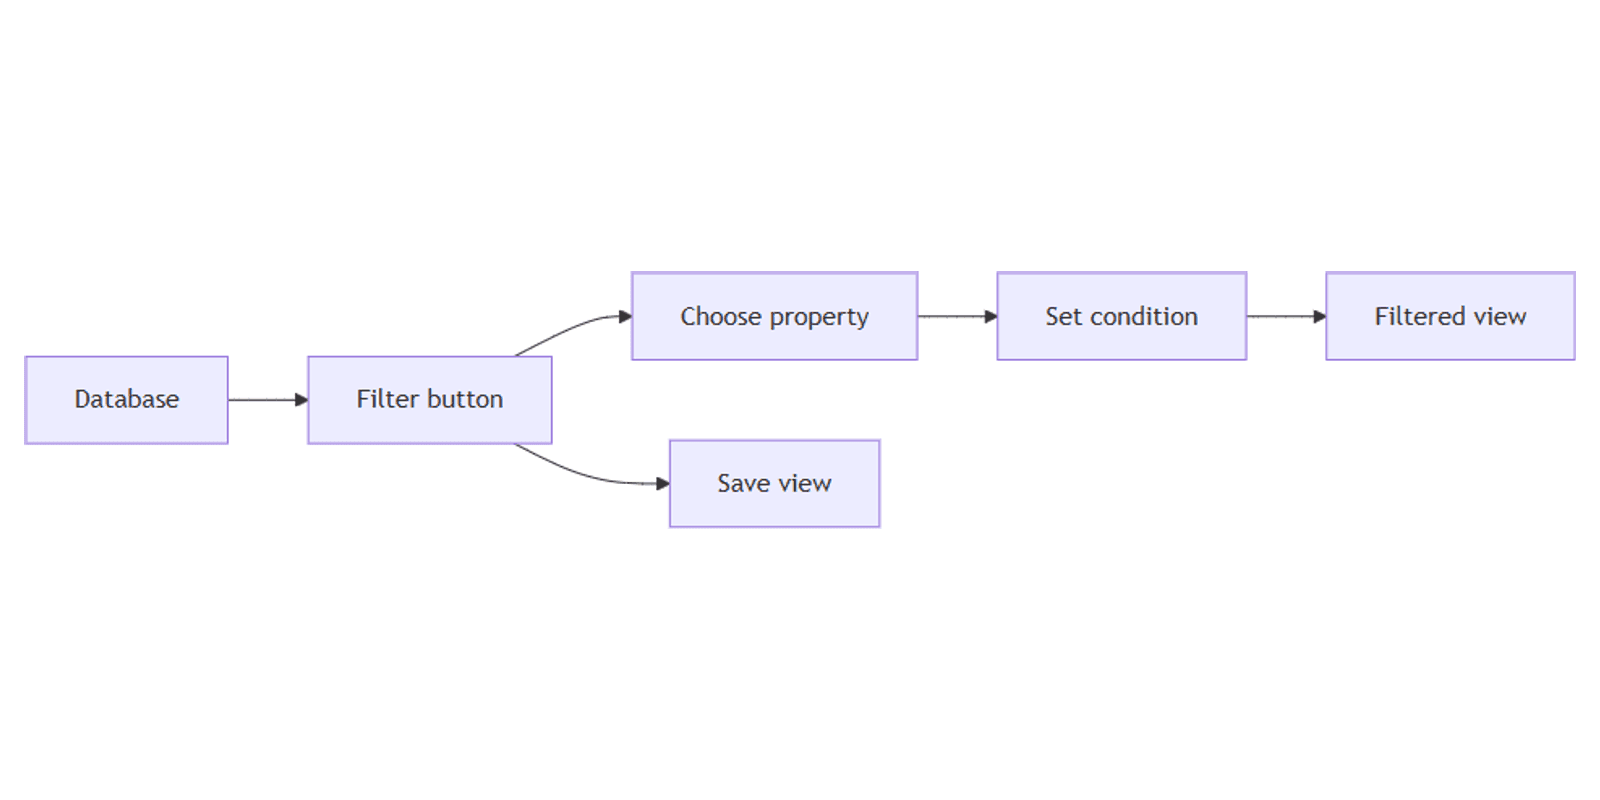
Open Filters: Click the Filter button at the top of your database.
Choose Property: Select the property you want to filter by, such as "Status," "Date," or "Tags"
Set Conditions: Choose the condition for filtering, like Is, Contains, Is before or Is after
Expand Filters: Click Add filter to refine your search further.
Apply Filters: Once you've set your conditions, the database will automatically update to show only the entries that meet your criteria.
Tips for Effective Filtering
Combine Filters: You can add multiple filters to narrow down your search even further.
Save Views: After applying filters, save this view for quick access in the future.
Use for To-Dos: Filter tasks by due date, priority, or assignee to stay on your to-do list.
Filtering in Notion can transform how you manage projects, track tasks, and organize information.
With a few clicks, you can tailor your database views to show what you need when needed.
Notion Templates
Start Selling Notion Templates - Start Now!